4 Tips to Finish Douglas Fir Lumber
When working with dressed Douglas Fir, inside or outside, you’ll want to protect the wood by properly finishing it. We talked to our experts to compile the top four tips on how to properly finish your Douglas Fir lumber:
1. Wait for Lumber to Dry
In order for stain or other finish to properly soak in, wood needs to be dry. If the wood has not been kiln-dried, the best way to dry out lumber is to let it sit in the sun. If you’re using Douglas Fir for pergola posts, we recommend putting together the pergola first and waiting a month or two to apply the finish. By assembling the pergola first, you’re getting the lumber off the ground and giving all four sides a chance to dry out evenly.
Ideally, you want the moisture level in the wood to be between 12% – 15% before applying any finishing. How long it takes wood to dry to that level will depend on several factors, including how wet the wood was when you got it, how warm it is outside, and the general humidity levels. During the spring, it could take a few months for the wood to dry enough to accept stain, while in the middle of summer, it might only take a week.
| Pro Tip: How to check if Douglas Fir lumber is dry without a moisture meter. Put a small amount of water on the wood. If the water soaks into the wood, it’s ready for finishing; however, if the water pools, the wood is still too wet to apply stain or protectant. |
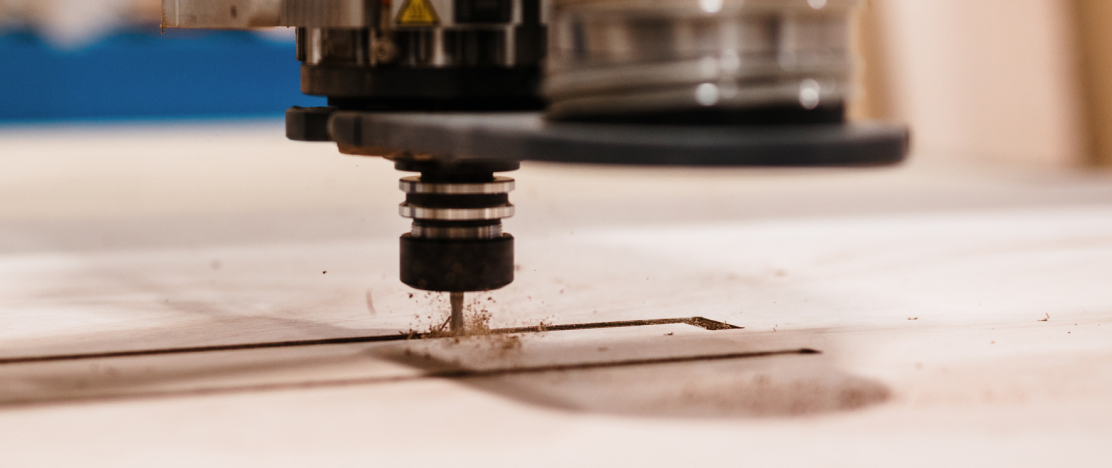
2. Lightly Sand Lumber
Dressed Douglas Fir has been machine-smoothed. At The WoodSource, all of our Douglas Fir timbers have run through the planer, and in some applications (like mantels), they have also been sanded.
If you order Douglas Fir timbers that have not been sanded (for example, pergola posts), you’ll want to take the time to sand the surface lightly. Sanding raises the grain, and allows the stain (or other finishing liquid) to penetrate the wood properly.
We recommend sanding all four sides with 60 to 80-grit sandpaper. You can sand the surface by hand or with a palm sander – just make sure to not over sand! Doing so will result in a polished surface that won’t absorb stain as readily.
3. Use Quality Finishing Products
There are many different finishing options, and they vary in quality. Make sure to choose the proper finish for your project. For outdoor applications you want to choose a finish that will protect the wood from wear and tear and environmental damage from UV rays, water, and insects.
Consequently, when left untreated, wood in a sunny and dry climate will produce cracks, spots, or yellow. So, it’s good practice to choose an exterior finish that contains UV blockers. When left in drier climates, wood will lose its moisture, which leads to cracking and shrinking. To avoid this, we recommend water-repellent finishes. They will protect against mildew, and the additional pigment will add a layer of protection against the sun.
| Finishing Product Recommendations from The WoodSource Experts Interior If the Douglas Fir is kiln dried- you shouldn’t have to wait for the moisture level to go down. It should be ready to finish when you bring it home. Our top option for interior staining is Saman varnishes. The varnish is often a clear finish and protective layer. If looking to change the colour of the wood, Saman stains can be used first and then apply a layer of varnish overtop. Exterior Our top recommendation for outdoor staining products is CUTEK. It penetrates deep into the wood’s surface, protecting it from inside and out. This stain enhances the beauty of wood, and it can protect against UV rays when a Colourtone is added. |

4. Apply Finish Correctly
Each finishing product will have its own application instructions. Make sure to read the label and follow their directions.
If you’re using stain, we recommend using a wood conditioner before applying the stain:
Apply wood conditioner
- Douglas Fir can be a bit complicated to stain because of its uneven texture. Applying wood conditioner before staining will help create a more even-finished product.
- Two coats of wood conditioner are recommended. The first coat will be absorbed as soon as it’s applied, and the second coat will sit on top of the surface to prepare it to accept the stain.
- Apply wood conditioner evenly on the whole surface and let sit for 15 minutes. After 15 minutes, remove the excess conditioner with a clean cloth and apply the second coat. Let it dry for another 15-30 minutes, and then you’ll be all set to start staining!
Apply the Stain
- Dip a folded cotton cloth into the stain. Wipe the surface of the wood with a wet cloth until the wood is consistently wet with stain.
- Wipe the excess stain off with a dry, cotton cloth. Wipe the wood using circular motions. When the wood looks dry, wipe it down another time, using strokes parallel to the grain of the wood.
- After applying each coat of wood stain, let the wood dry for nearly 24 hours before applying another coat of stain. Applying thin coats of stain will reduce the drying time and improve the process efficiency.
If you’re using a penetrating oil like CUTEK, you don’t need to apply a wood conditioner first. However, you’ll want to follow these tips:
- Always apply CUTEK when the temperature is hot outside.
- For the best results, apply two coats. Make sure to let the first coat fully dry before applying a second.
- If you want to protect Douglas Fir from UV damage, you need to apply a Colourtone to the oil.
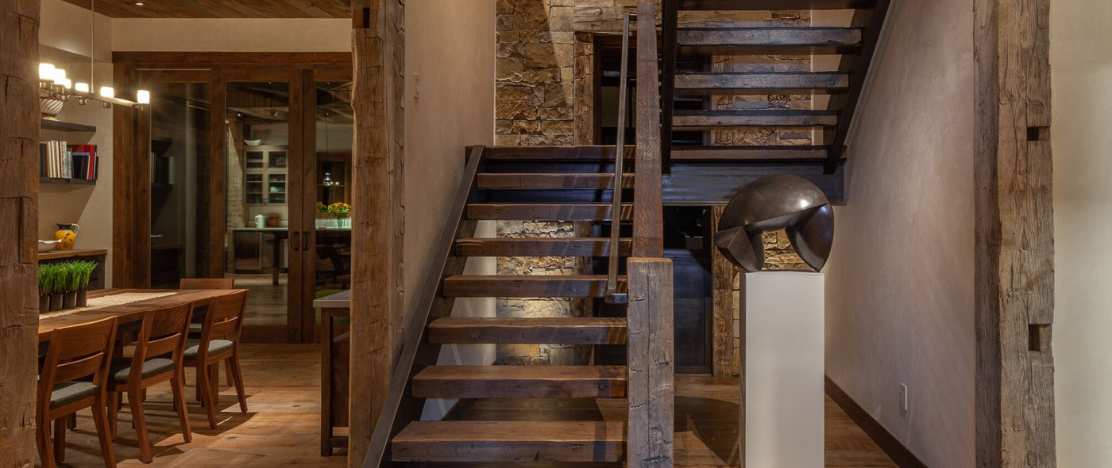
Douglas Fir is a great wood choice for both interior and exterior projects. The WoodSource can help you find the best finish for your Douglas Fir project. Tell us about your project and let us walk you through the options!
Reach out and get connected with one of our knowledgeable staff members.
"*" indicates required fields